
 DeltaSnap
  DriveSync
  Noject
  DeltaSync
 MacVisor keeps one window for managing the library and separate windows for VM displays. Nothing in the interface owns a running VM, so you can close any of it without stopping a guest.
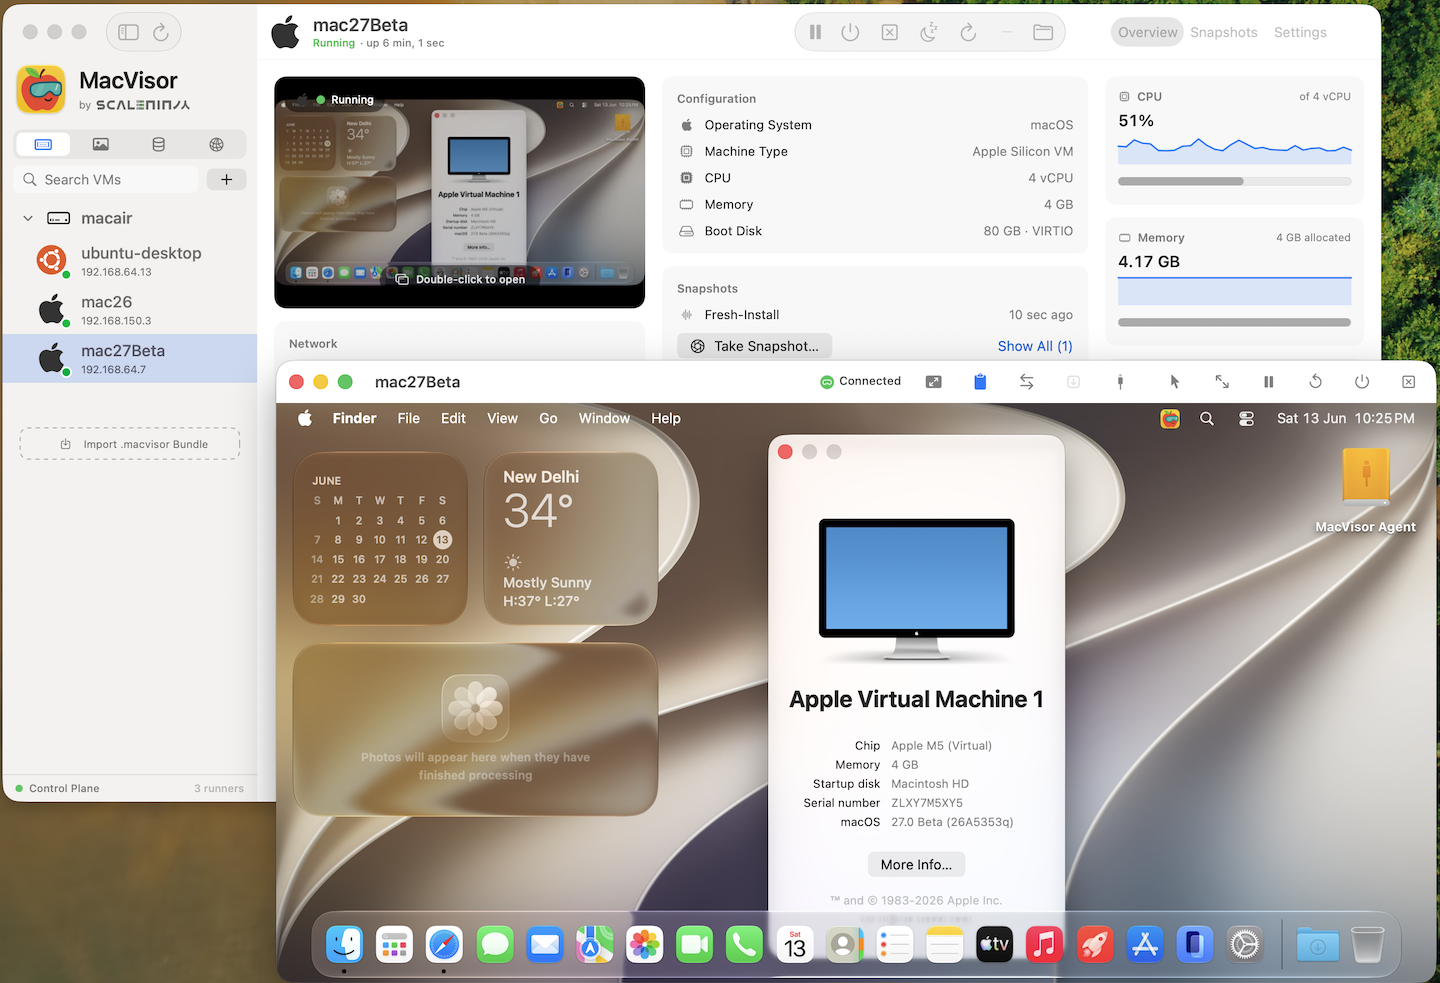
Sidebar
A segmented control switches the sidebar between four sections, each with its own search field:
| Section | Contents |
|---|---|
| Virtual Machines | Every runnable VM, with state, resources, and lifecycle actions |
| Templates | The catalogue of Linux cloud images and macOS installers, what you have downloaded, and VMs you converted into templates |
| Storage | Configured storage locations and what each one holds |
| Networks | Host interfaces, VLAN interfaces, and custom networks |
The + button follows the section: it creates a VM, adds an image or installer from a file (qcow2, raw, .xz, or .ipsw — dropping the file on the Templates list works too), adds a storage location, or creates a custom network or VLAN interface.
When a storage location can't be read — an unmounted volume, or one macOS has not yet granted the background service access to — the sidebar says so in place of the VMs it would list, with a button that opens the right Settings pane. See Storage and sharing.
Library dashboard
With no VM selected, the main area shows the host itself:
- Host resources — CPU, memory, GPU, and VM-volume storage, each with the last minute of history.
- Resource Allocation — vCPUs and memory assigned to running VMs against physical capacity, plus provisioned disk against the volume. Overcommitment is called out rather than blocked: vCPUs are time-sliced, memory is not, and thin-provisioned disks can promise more space than the volume has.
- Inventory — running, stopped, and suspended VMs, templates, snapshots, and networks.
- Control Service — reachability, PID, runner count, default storage location, and log paths, with buttons to refresh, restart, or open logs, and to enable the background service if it is not running.
- Unattended Auto-Start — appears when any VM is flagged to start at login. See Always-on host.
VM tabs
Selecting a VM replaces the dashboard with three tabs:
- Overview — live CPU, memory, and network readings, configuration at a glance, guest tools status, IP addresses and the VM's
.macvisorname, port forwards, memory balloon, attached USB mass storage, notes, and quick lifecycle actions. It is also where MacVisor explains a saved session that won't restore (Try Again / Start from Disk…) and reports space held in disk layers no clone uses any more, with Flatten Disk. - Snapshots — the VM's snapshot list, with take, revert, clone, export, and delete.
- Settings — the six settings pages, in the window rather than a separate sheet. See VM settings reference.
Task pane
Long operations — image and installer downloads, installs, restores, migrations, file transfers, snapshot work, disk conversions — run as tasks with progress in the pane below the sidebar. A download shows its size, speed, and time remaining; hover it for the URL, and cancel it from the pane (a cancelled download keeps what it got and resumes on the next pull). Completed tasks move to Task History, which opens in its own window. Tasks belong to the service, so they keep running and stay visible if you close and reopen the app, and mvz tasks lists the same ones.
Menu bar
Enable Show MacVisor in the Menu Bar in Settings → General for a menu listing every VM with its state and the lifecycle actions that apply to it: open window, start, pause, suspend, resume, shut down, or reveal in the library. It is the quickest way to drive a headless host without bringing up the main window. The same Settings → General pane has a Text Size control for the app's own text.
Menus worth knowing
- Logs opens the app log, the control-service log, and the runner log of any VM in a log viewer window. Runner logs are per VM, which is what makes one VM's failure diagnosable on its own. Report a Problem… collects those logs and a summary of this Mac's MacVisor state into a single zip to send us.
- Assistant holds Task History, Restart Control Plane Service, and Uninstall MacVisor….
- ⌘N creates a VM from anywhere in the app.
The mvz command-line tool is linked during first-run setup rather than from a menu item — see Install and activate.