
 DeltaSnap
 DriveSync
 Noject
 DeltaSync
Home Assistant OS is the full Home Assistant install, with its Supervisor, add-ons and backups, packaged as a whole operating system. It has no cloud-init and sets itself up on its first boot, so MacVisor runs it as an appliance.
What we tested
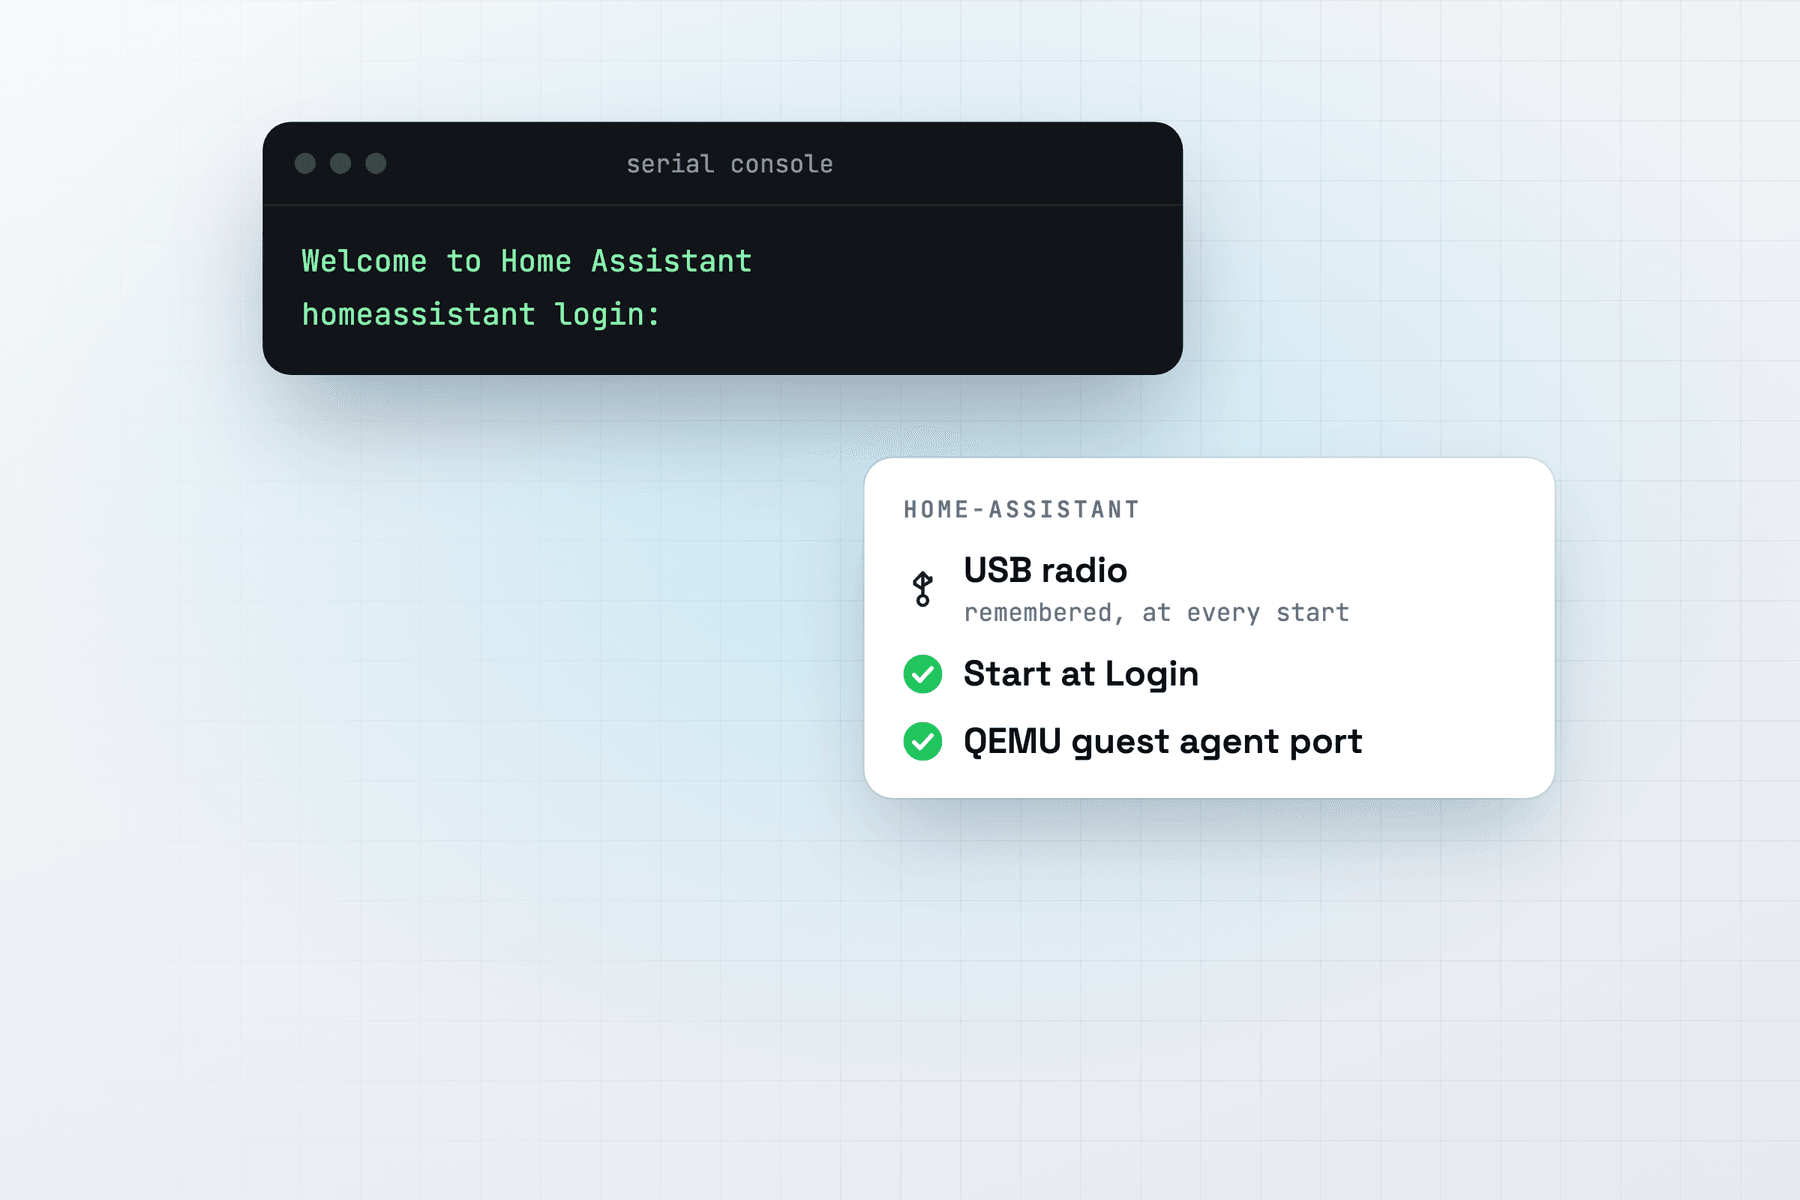
On MacVisor, a VM named home-assistant, made without cloud-init from the Home Assistant OS generic aarch64 image, boots to Welcome to Home Assistant and the homeassistant login: prompt on its serial console. It had the defaults for a new VM: 4 vCPUs, 4 GiB of memory, a 64 GiB ASIF disk with 512-byte sectors, the QEMU guest agent port on, and the Default MacVisor Network.
Not tested yet: bridged networking, a Zigbee or Z-Wave radio passed through, and VM Watchdog. The steps for those below follow MacVisor's docs.
Make the VM
Download the Home Assistant OS image for generic aarch64 from Home Assistant's installation page. MacVisor takes raw, qcow2 and ASIF images and .xz files of them, so decompress any other format first.
In the app, press ⌘N, choose Linux, then Image File or URL…, pick the file and turn off Set up with cloud-init. From Terminal:
mvz create ~/Downloads/<haos-image> home-assistant --no-cloud-init
mvz start home-assistant --headless
mvz console home-assistant         # Control-] detaches
Home Assistant sets itself up on the first boot. Its web UI then listens on port 8123.
Put it on your home network
On the Default MacVisor Network only this Mac reaches the VM. Your phone and Home Assistant's device discovery need it on your LAN, so bridge it before you start it:
mvz set home-assistant --network bridged:en0     # applies at the next start
mvz ip home-assistant --wait
networksetup -listallhardwareports names the Mac's interfaces. In the app, choose the interface in VM Settings → Network. Your router then gives the VM an address like any other device, and you can reserve one for it there. See Bridging.
Pass a Zigbee or Z-Wave radio through
Plug the radio into the Mac, then click USB in the VM window's toolbar, or:
mvz usb list home-assistant
mvz usb attach home-assistant 10c4:ea60     # attach now, and whenever the VM runs
Name the device as list shows it: by name, vid:pid or vid:pid:serial. macOS may ask on the Mac's screen whether to allow the accessory for MacVisor VM, so answer it over Screen Sharing on a Mac you reach only over SSH. While the VM has the radio, the Mac can't use it.
A suspend or a live snapshot unplugs the radio for a few seconds and plugs it in again. Shut the VM down rather than suspending it, and keep the Mac's logout setting on shut down with mvz service at-logout shutdown. See USB devices.
Keep it running
mvz autostart home-assistant on
mvz ha home-assistant on
mvz hooks home-assistant check set 'curl -fsS -m 10 -o /dev/null http://home-assistant.mvz:8123/'
Start at Login and high availability bring Home Assistant back after a reboot or a crash. VM Watchdog needs heartbeats from a guest agent. Home Assistant OS can't run the MacVisor Agent and doesn't start its QEMU guest agent on MacVisor yet, so the Overview's Guest Tools card says Not Installed. The health check covers that gap from the Mac. Add --restart to it once you trust it. See Health checks.
Try Shut Down once while nothing important is happening. MacVisor presses the virtual power button first. If Home Assistant doesn't stop, give the VM a shutdown command.
Back it up
Home Assistant's own backups keep its configuration. A MacVisor backup keeps the whole VM, so a dead drive means a restore, not a new setup:
mvz snapshots take home-assistant --disk-only --name "Before update"
mvz set home-assistant --backup-to /Volumes/T7/Backups
A restored VM comes back without its remembered USB devices, so remember the radio again. See Backups.