
 DeltaSnap
 DriveSync
 Noject
 DeltaSync
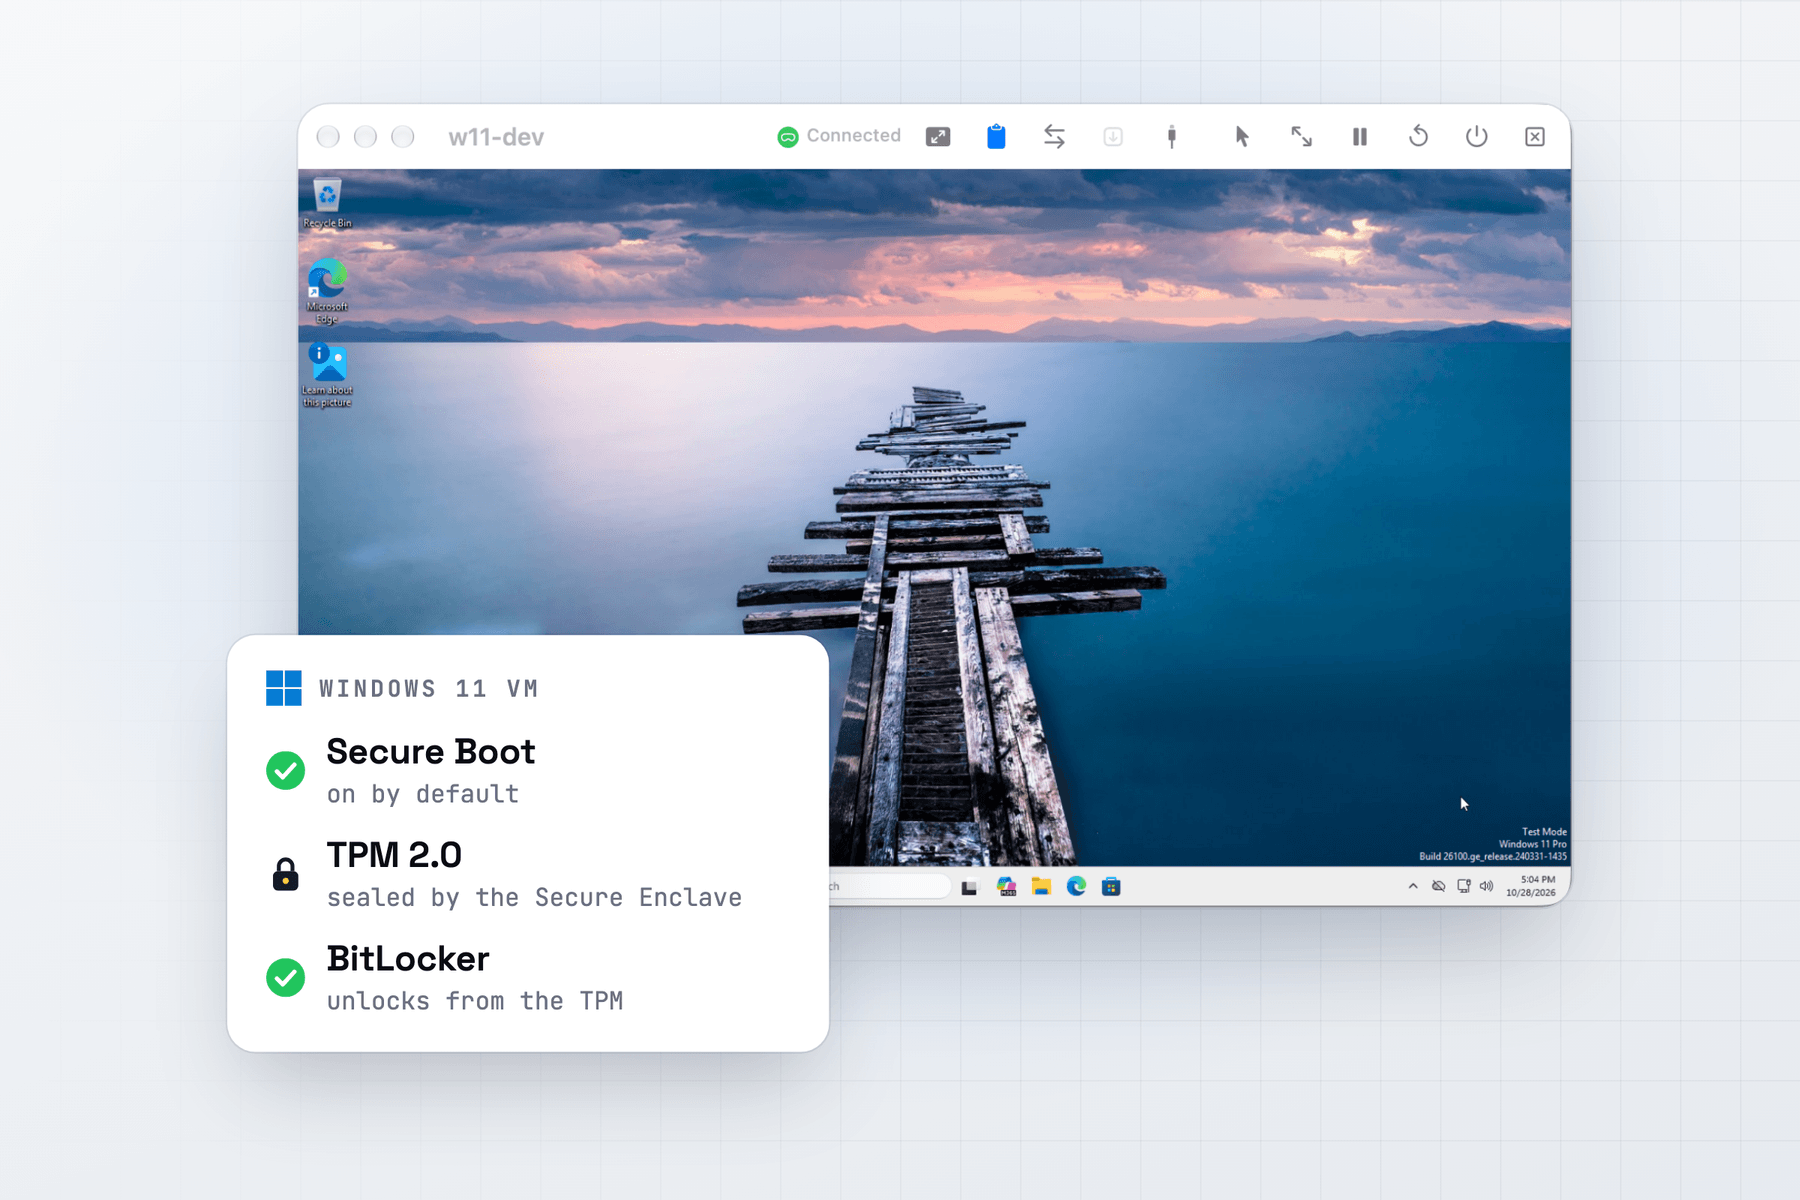
Windows 11 on ARM is the version of Windows built for ARM processors, and it is the one that runs on an Apple Silicon Mac. MacVisor installs it from Microsoft's own ISO, with nothing for you to click through, and sets it up for use from the Mac: your account, shared folders, clipboard, sound and Remote Desktop. It suits Windows-only apps, test machines, PowerShell and .NET work, and build agents over SSH.
What you need
- An Apple Silicon Mac running macOS 27.2, the version Windows guests are tested on.
- Microsoft's Windows 11 on ARM ISO. Choose the multi-edition Arm64 ISO and a language; Windows installs in the ISO's language. MacVisor can't download the ISO for you.
- A Windows license. MacVisor doesn't include, sell or activate Windows.
- Internet access for the first VM, to download the Windows drivers (about 1 GB). Later VMs reuse them.
- Room for the defaults: 4 vCPUs, 8 GiB of memory and a 64 GiB disk, which takes only the space Windows writes.
Install Windows 11
In the app, press ⌘N, choose Windows, pick the ISO and click Create & Install. More Options sets the account name and password.
From Terminal:
mvz create ~/Downloads/Win11_26H2_English_Arm64.iso win11 --ssh
mvz wait win11 --start   # waits for the install, starts the VM, waits for the agent
mvz open win11           # the VM's own window
mvz shell win11          # PowerShell over SSH, with your keys
The first VM downloads the drivers, which takes a few minutes. Preparing the installer and copying Windows takes 2 to 3 minutes, and Windows then sets itself up over a few restarts in 5 to 7 more. Expect about 10 minutes in all.
When Windows first starts, it has:
- A local administrator account,
macvisorunless you chose another name, signed in automatically. Its password is random unless you set one:mvz password win11prints it, and Type Password types it into the window at the sign-in screen and in UAC prompts. - The MacVisor Agent, as a Windows service, for addresses, clipboard text and images, file transfer, port forwards, a clean shutdown and the window's resolution.
- Your shared folders as the
Z:drive. - Remote Desktop, on.
- UEFI Secure Boot and a TPM 2.0, so Windows 11's own checks pass with nothing bypassed.
- The least data sharing Windows allows, a local account and no Microsoft account.
Windows is left unactivated: activate it with your license in Settings → System → Activation. Windows 11 guests lists every option, such as --winrm and --no-autologin.
Secure Boot, the TPM and BitLocker
The VM's Secure Boot keys are Microsoft's, as on a PC, plus MacVisor's own certificate for its boot files. The TPM is MacVisor's own, and Windows drives it with its built-in TPM driver for BitLocker, Windows Hello and the Windows 11 checks.
The TPM's state is encrypted with a key from the Mac's Secure Enclave, so a copy of the VM on another Mac can't open it.
- BitLocker seals its key to the TPM and unlocks at each start. With Secure Boot on, System Information shows PCR7 Configuration: Bound. Windows doesn't encrypt the disk by itself in a MacVisor VM, so you turn BitLocker on when you want it, and keep the recovery key outside the VM.
- Snapshots, reverts and backups carry the TPM. A revert brings back the TPM as it was in the snapshot.
- A clone gets a TPM of its own. On a clone of a VM with BitLocker on, BitLocker asks for the recovery key once, then seals to the new TPM. Make templates before you turn BitLocker on.
- Moving a VM to another Mac keeps its TPM when you export and import it with a passphrase:
mvz tpm export win11 ~/Transfer/win11.tpm   # on the old Mac, with the VM shut down
mvz tpm import win11 ~/Transfer/win11.tpm   # on the new Mac, after moving the VM
mvz tpm reset <vm> gives a VM a new TPM, and mvz set <vm> --secure-boot on|off and --tpm on|off change either one. BitLocker and the TPM for administrators covers recovery-key escrow, which operations ask for the key and what compliance tools report.
Display, sound and USB
The display. Windows shows on Virtio-MVZ, MacVisor's own display device. It takes any resolution, follows the window as you resize it or go full screen, and is sharp on a Retina screen, with Windows' scaling set to match. Windows draws with the Mac's CPU, so new VMs turn off its transparency and animations to keep that cost down. See The display.
Sound and microphone. Every new Windows VM has speakers and a microphone in its own window, through MacVisor's audio device. The Mac's microphone opens only while Windows records, and macOS asks the first time. mvz set win11 --sound off turns sound off. See Sound.
USB devices. Click USB in the VM's window to pass a device from the Mac through to Windows, such as a security key or a serial adapter. Windows uses its own driver for it. Audio devices and webcams can't be passed through, a limit of Apple's framework. See USB devices.
mvz usb list win11
mvz usb attach win11 10c4:ea60   # attach now, and whenever the VM runs
Snapshots, clones and backups
Windows VMs take snapshots, suspend, clone, become templates and export like any other MacVisor VM. A live snapshot saves memory too and resumes where Windows was. A disk-only snapshot is the one to keep across macOS and MacVisor updates.
mvz snapshots take win11 --disk-only --name "Clean install"
mvz snapshots revert win11 "Clean install"
mvz set win11 --backup-to /Volumes/T7/Backups   # daily backups at 03:00
Backups go to another drive or a network share, and carry the TPM. See Snapshots and Backups. Shut Windows VMs down, rather than suspending them, before you update MacVisor.
Networks and remote access
A new VM joins the Default MacVisor Network and answers by name as win11.mvz once the agent runs. Put it on a bridged network to reach it from other computers, or on a custom network with DHCP reservations and a firewall the Mac enforces. See Networking and Custom networks.
mvz rdp win11 opens the VM in Microsoft's Windows App, which carries sound and the clipboard. mvz ports add win11 --host-port 8080 --guest-port 80 forwards a port to this Mac. With --ssh, mvz exec runs PowerShell commands from scripts, and mvz send copies files to the Desktop:
mvz exec win11 -- "Get-Service sshd | Select-Object Status"
mvz send win11 ~/Downloads/setup.msi
Limits
- No 3D or GPU acceleration. DirectX and other 3D work is drawn in software on the Mac's CPU, so Windows VMs are not for games, 3D apps or GPU compute. Browsers, video and everyday apps run well. Long video sessions at high resolution spin the fans up.
- No TPM attestation. The TPM has no endorsement-key certificate from a TPM vendor, so Autopilot self-deploying mode and pre-provisioning, and Intune checks based on device health attestation, don't work.
- No Memory Integrity or Credential Guard. Windows VMs have no nested virtualization, so there is no Virtualization-based Security.
- No import of Windows VMs. A Windows VM from Parallels Desktop, UTM, VirtualBuddy or VMware Fusion doesn't boot in MacVisor. Make a new one and copy your files over the
Z:drive. - macOS 27.2 on the Mac. On an earlier macOS, the New VM form warns that Windows may not install or start.
- Not tested yet: signing in with a Microsoft account, Windows feature updates, and joining Entra ID or Intune. Windows Update finds updates, and an in-place repair install works.
The full list is in the docs.
When MacVisor isn't the right choice
If you want Windows mainly for games, 3D design tools or anything that needs DirectX, use Parallels Desktop. It has DirectX 11 and OpenGL acceleration on Apple Silicon, and Coherence, which shows Windows apps as windows on the Mac's desktop. MacVisor has neither.
MacVisor fits when Windows is one machine among several you run on the Mac: a test VM you snapshot and revert, a build agent over SSH, a Windows box on a lab network beside Linux and macOS VMs, or a Windows VM with BitLocker and a TPM for IT to manage. Every single-Mac feature is in every license, including the one-time Pro license, and the 30-day trial is free. See also MacVisor vs. Parallels Desktop.