
 DeltaSnap
 DriveSync
 Noject
 DeltaSync

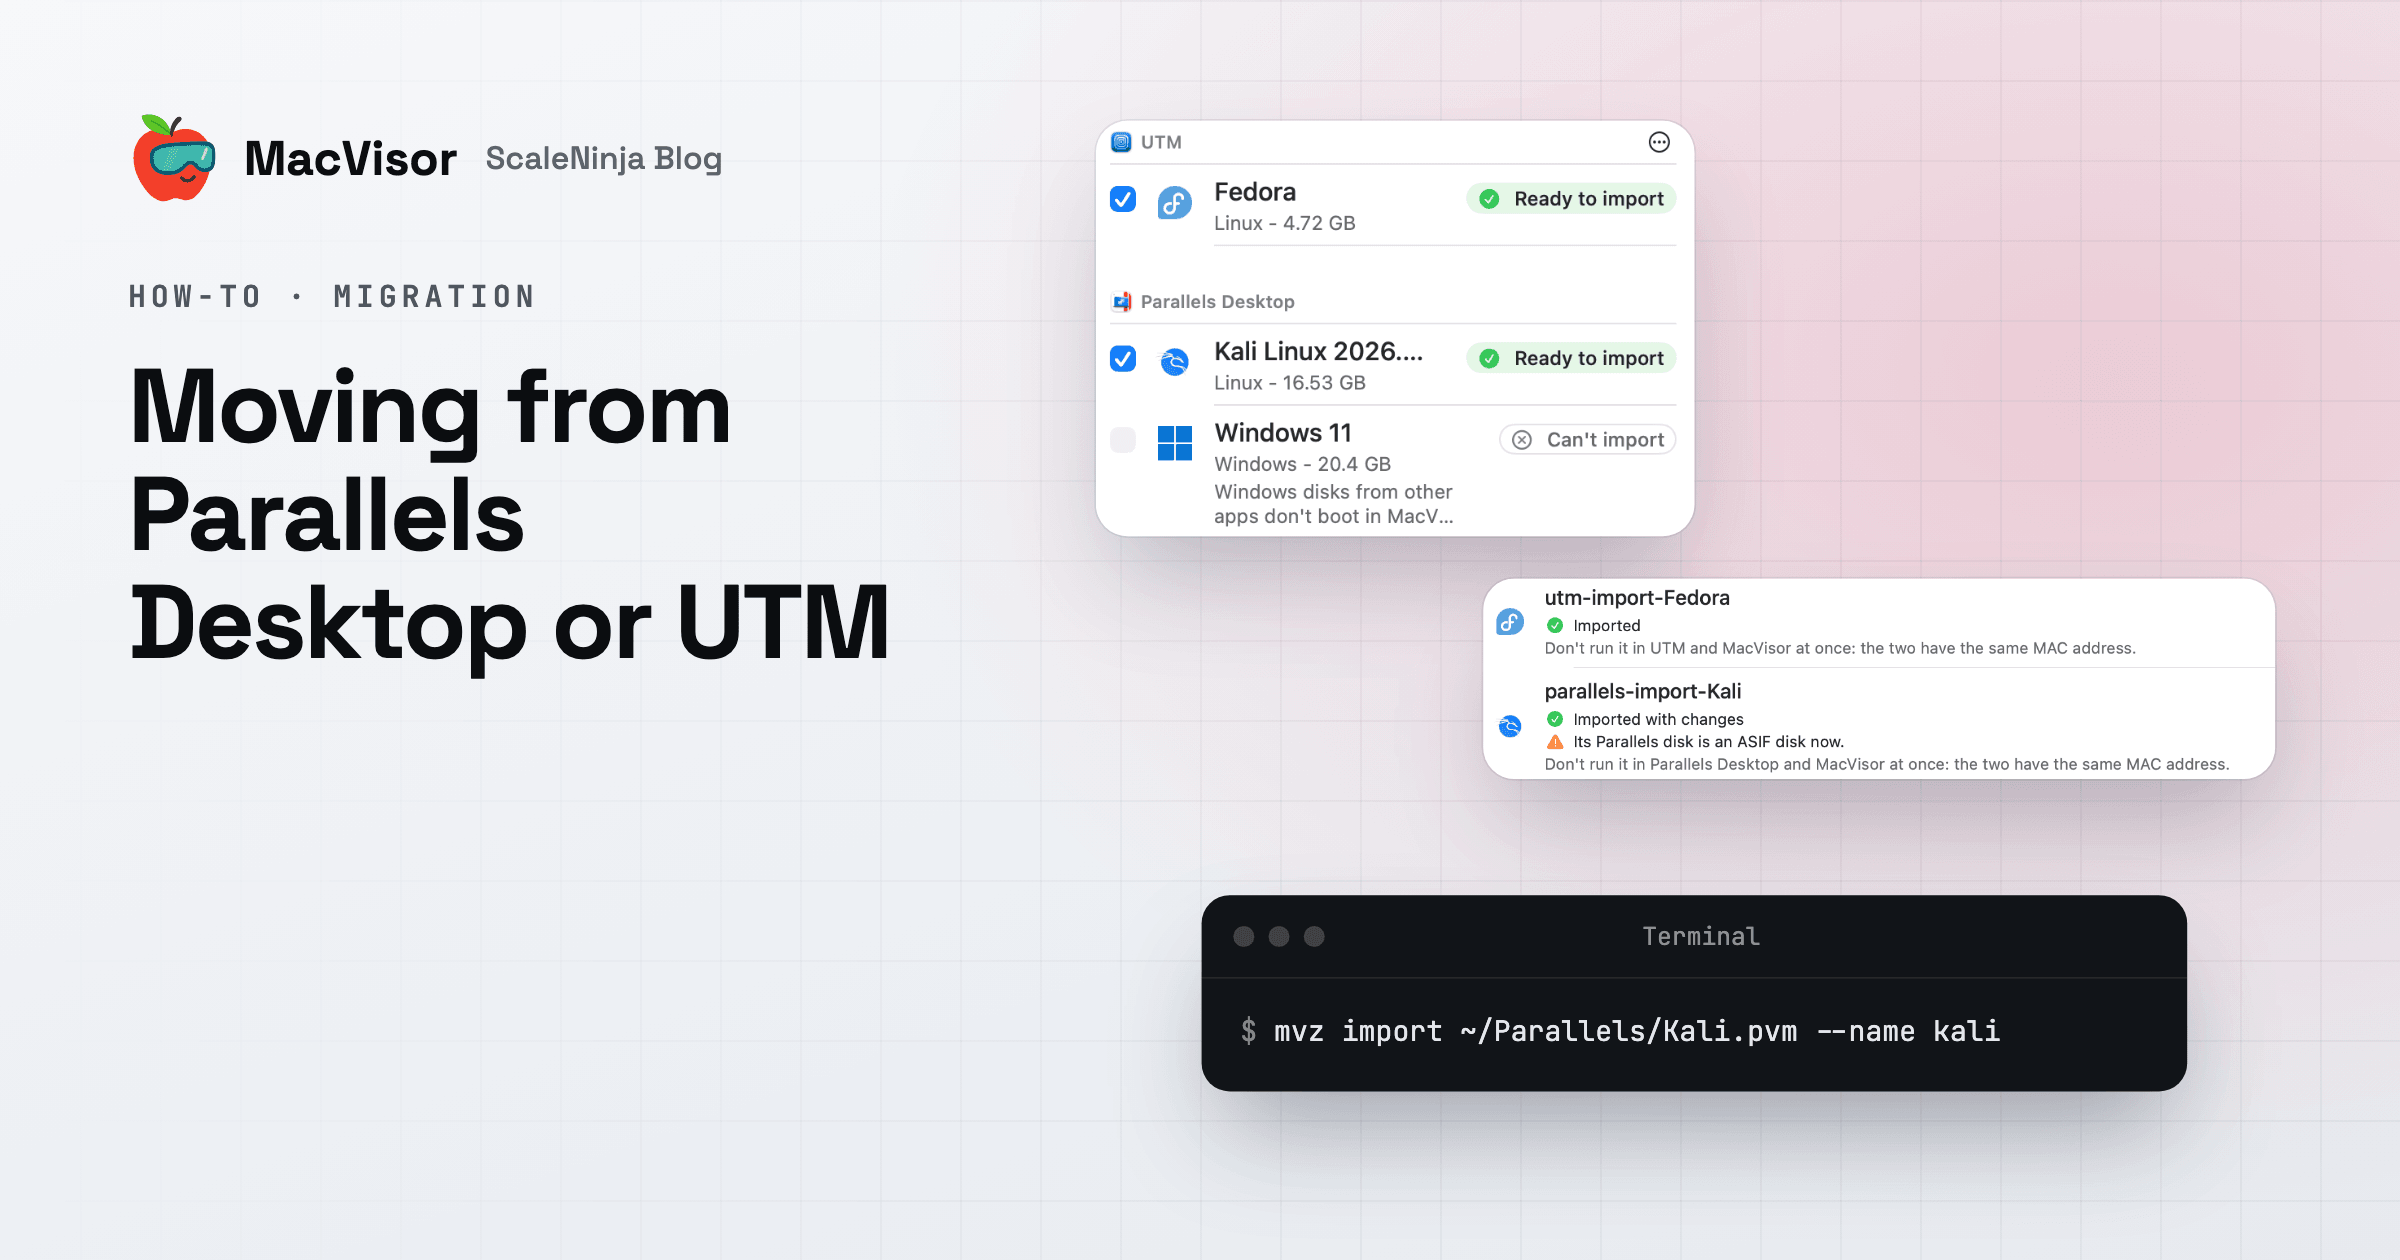
MacVisor imports VMs from Parallels Desktop and UTM, as well as VirtualBuddy, tart and VMware Fusion. An imported VM keeps its disks, CPUs, memory and MAC address, so on a network bridged to your LAN it keeps its address there too.
This guide covers what comes across, how to import, and what to do after. The full reference is Import VMs from other apps.
Why move
- A one-time Pro license, with every single-Mac feature in every license.
- VMs keep running with the app closed, each in its own process, started at login if you like.
- Networks with a firewall that the Mac enforces, outside the guests.
- Backups on a schedule, to another drive or a share. Time Machine leaves VMs out.
Some VMs are better left where they are. MacVisor runs ARM64 guests only, so keep x86 VMs in UTM, which emulates them. For Windows games and 3D, Parallels Desktop is the better choice. The comparisons go further: MacVisor vs. Parallels and MacVisor vs. UTM.
What comes across
| From | Linux and FreeBSD VMs | macOS VMs | Windows VMs |
|---|---|---|---|
Parallels Desktop (.pvm, .macvm) | The whole VM, its disk converted to ASIF | The whole VM (.macvm), the same Mac | Make a new one |
| UTM, Apple Virtualization | The whole VM | The whole VM, the same Mac | Make a new one |
| UTM, QEMU (ARM64) | The disk only | Make a new one |
"The same Mac" means a macOS VM keeps its hardware model, machine identifier and auxiliary storage, so macOS inside it sees no new computer.
Snapshots and saved states stay behind. The VM comes across as it is now.
Where MacVisor looks
- Parallels Desktop:
~/Parallels, and the folders in your home folder that Parallels Desktop's own list of VMs names. It doesn't look in Desktop, Documents or Downloads. Add a VM from there with Add…, or drop it on the VM list. - UTM: UTM's own folder,
~/Library/Containers/com.utmapp.UTM/Data/Documents. The first time, macOS asks whether MacVisor may access data from other apps. Allow it, and every UTM VM is listed.
Import a VM
- Shut the VM down in Parallels Desktop or UTM. A suspended VM can't come across.
- In MacVisor, choose File → Import… (⇧⌘I). The window lists the VMs it found, each marked Ready to import, Disk only or Can't import, with the reason.
- Tick the VMs and check each one's name, network, CPUs and memory.
- Choose Copy or Move for its disk.
- Click Import. When it's done, MacVisor asks whether to start the VM.
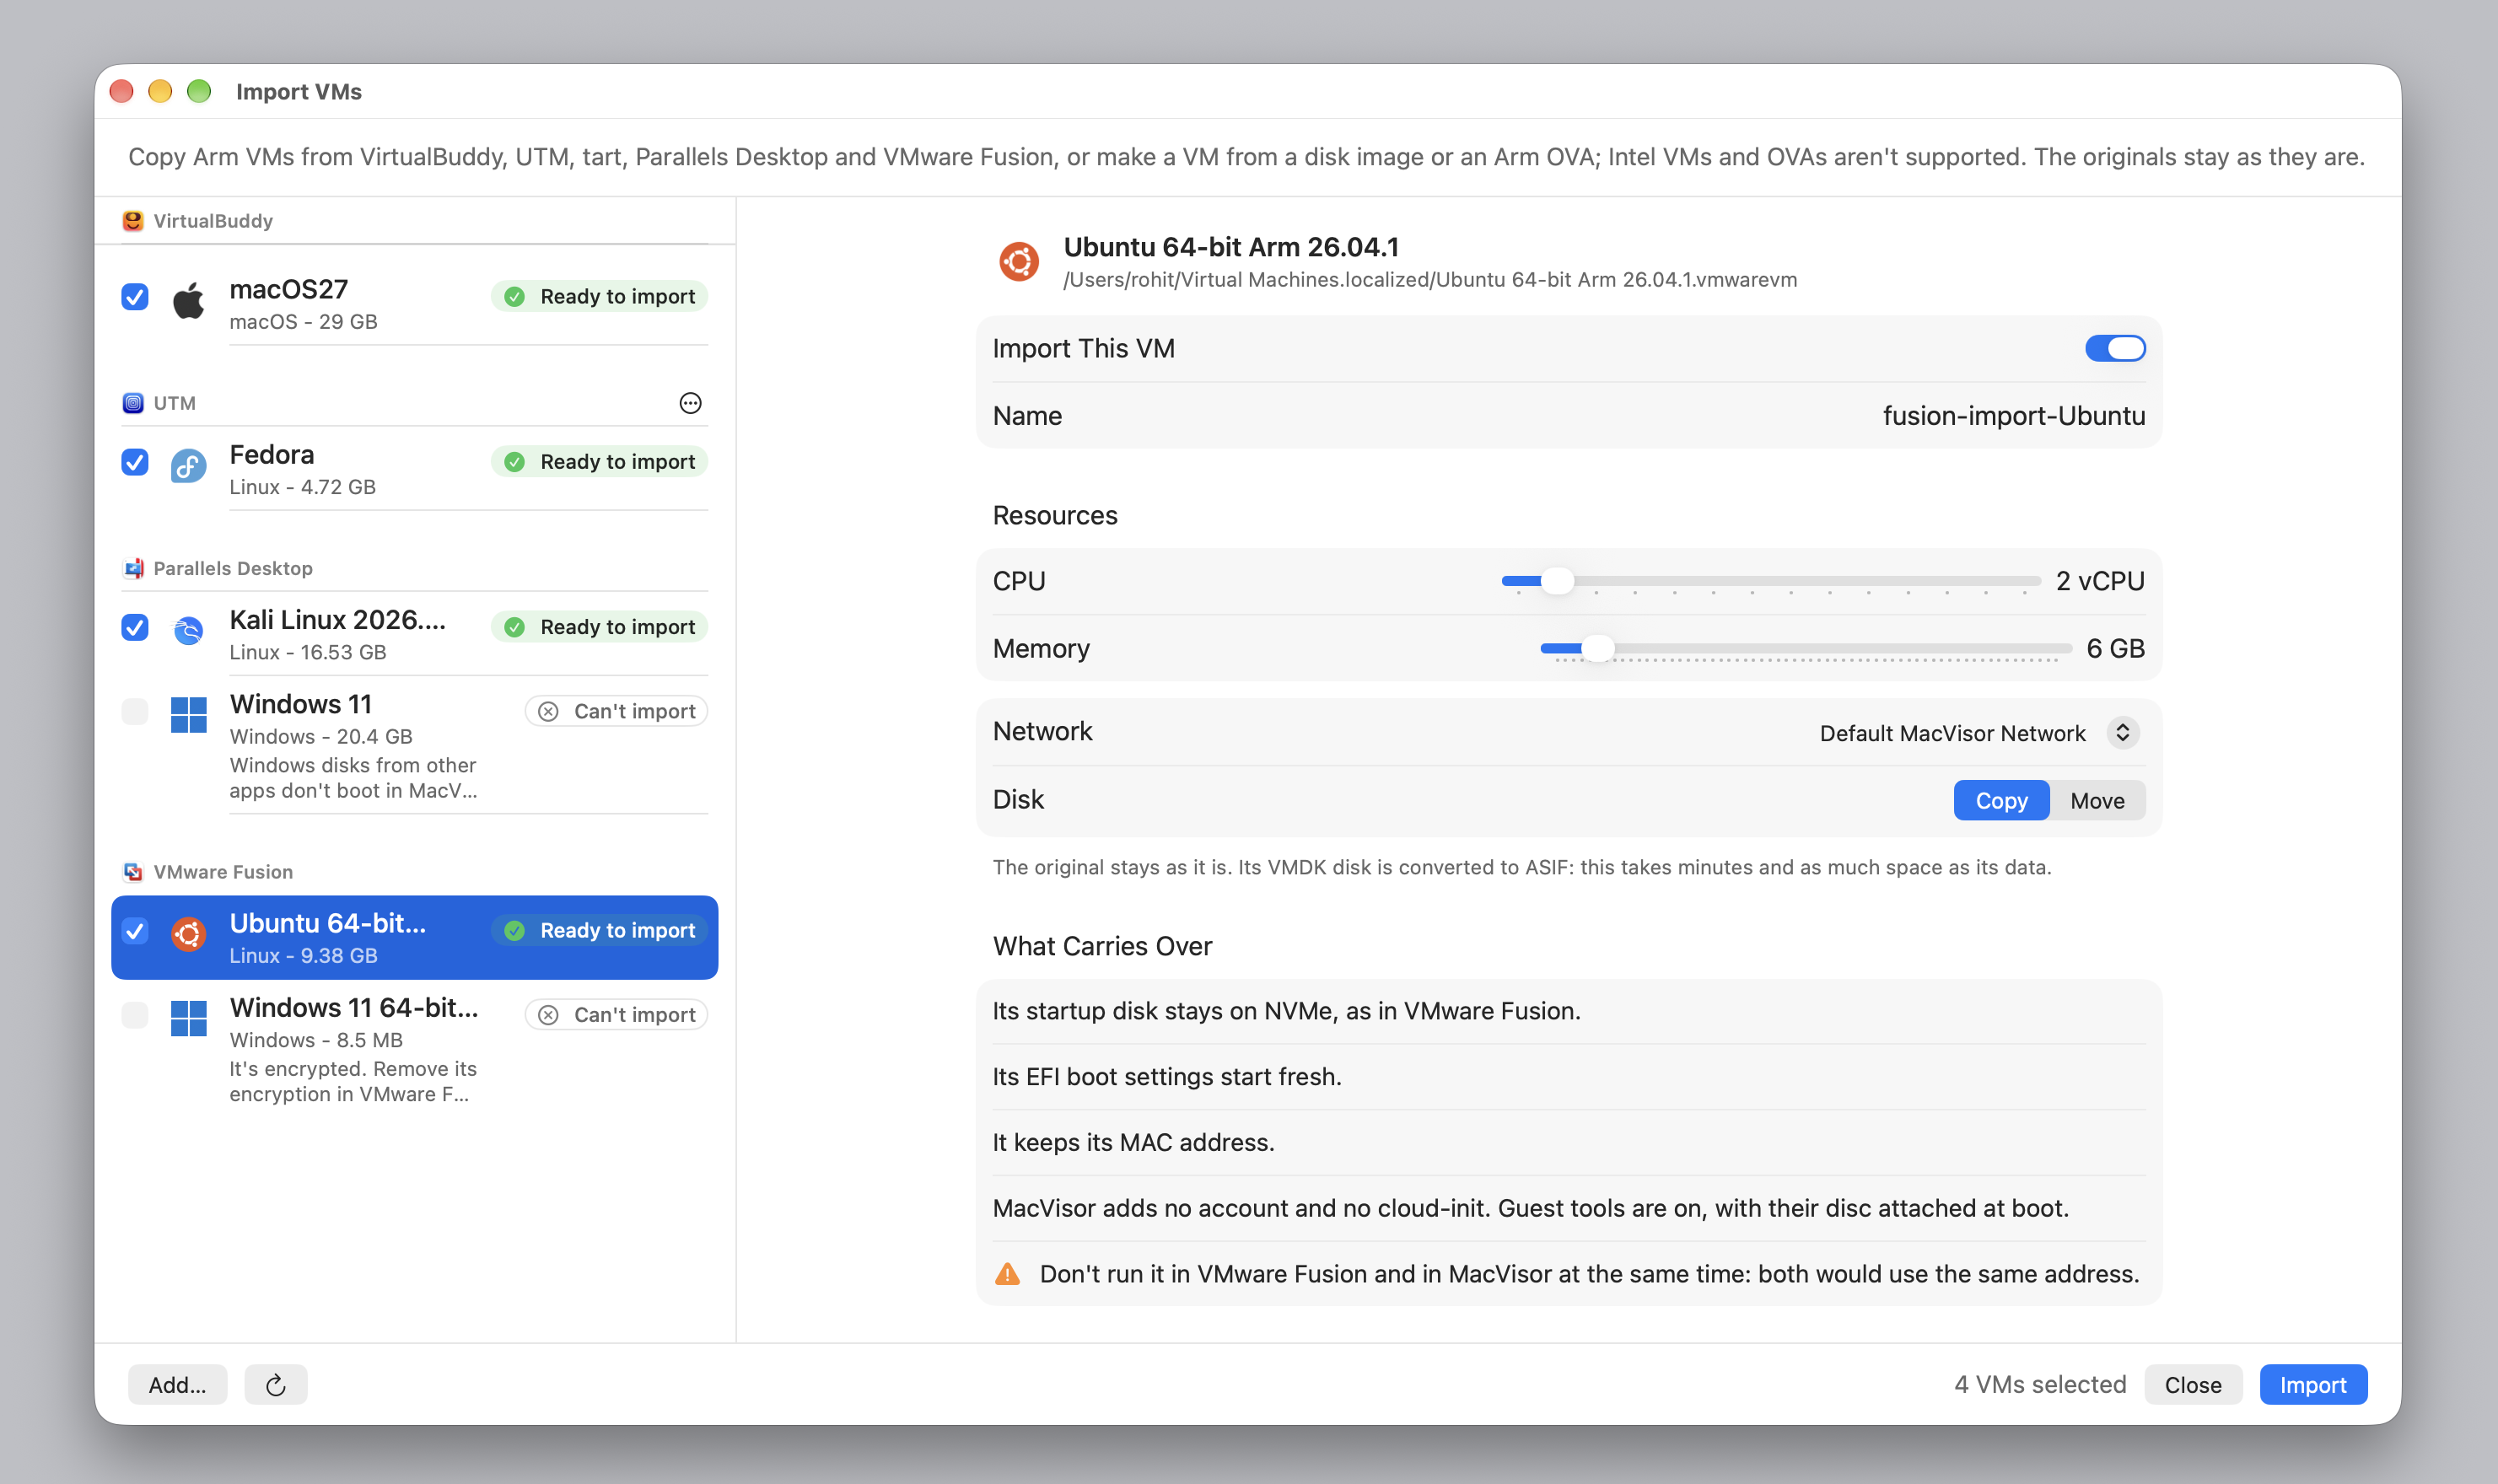
Copy, the default, leaves the original working in its app. On the same APFS volume it's near-instant, with no extra space until the two differ. Move sends the original to the Trash once MacVisor has read the new disk back and checked it. A Parallels disk is converted to ASIF either way, which takes minutes.
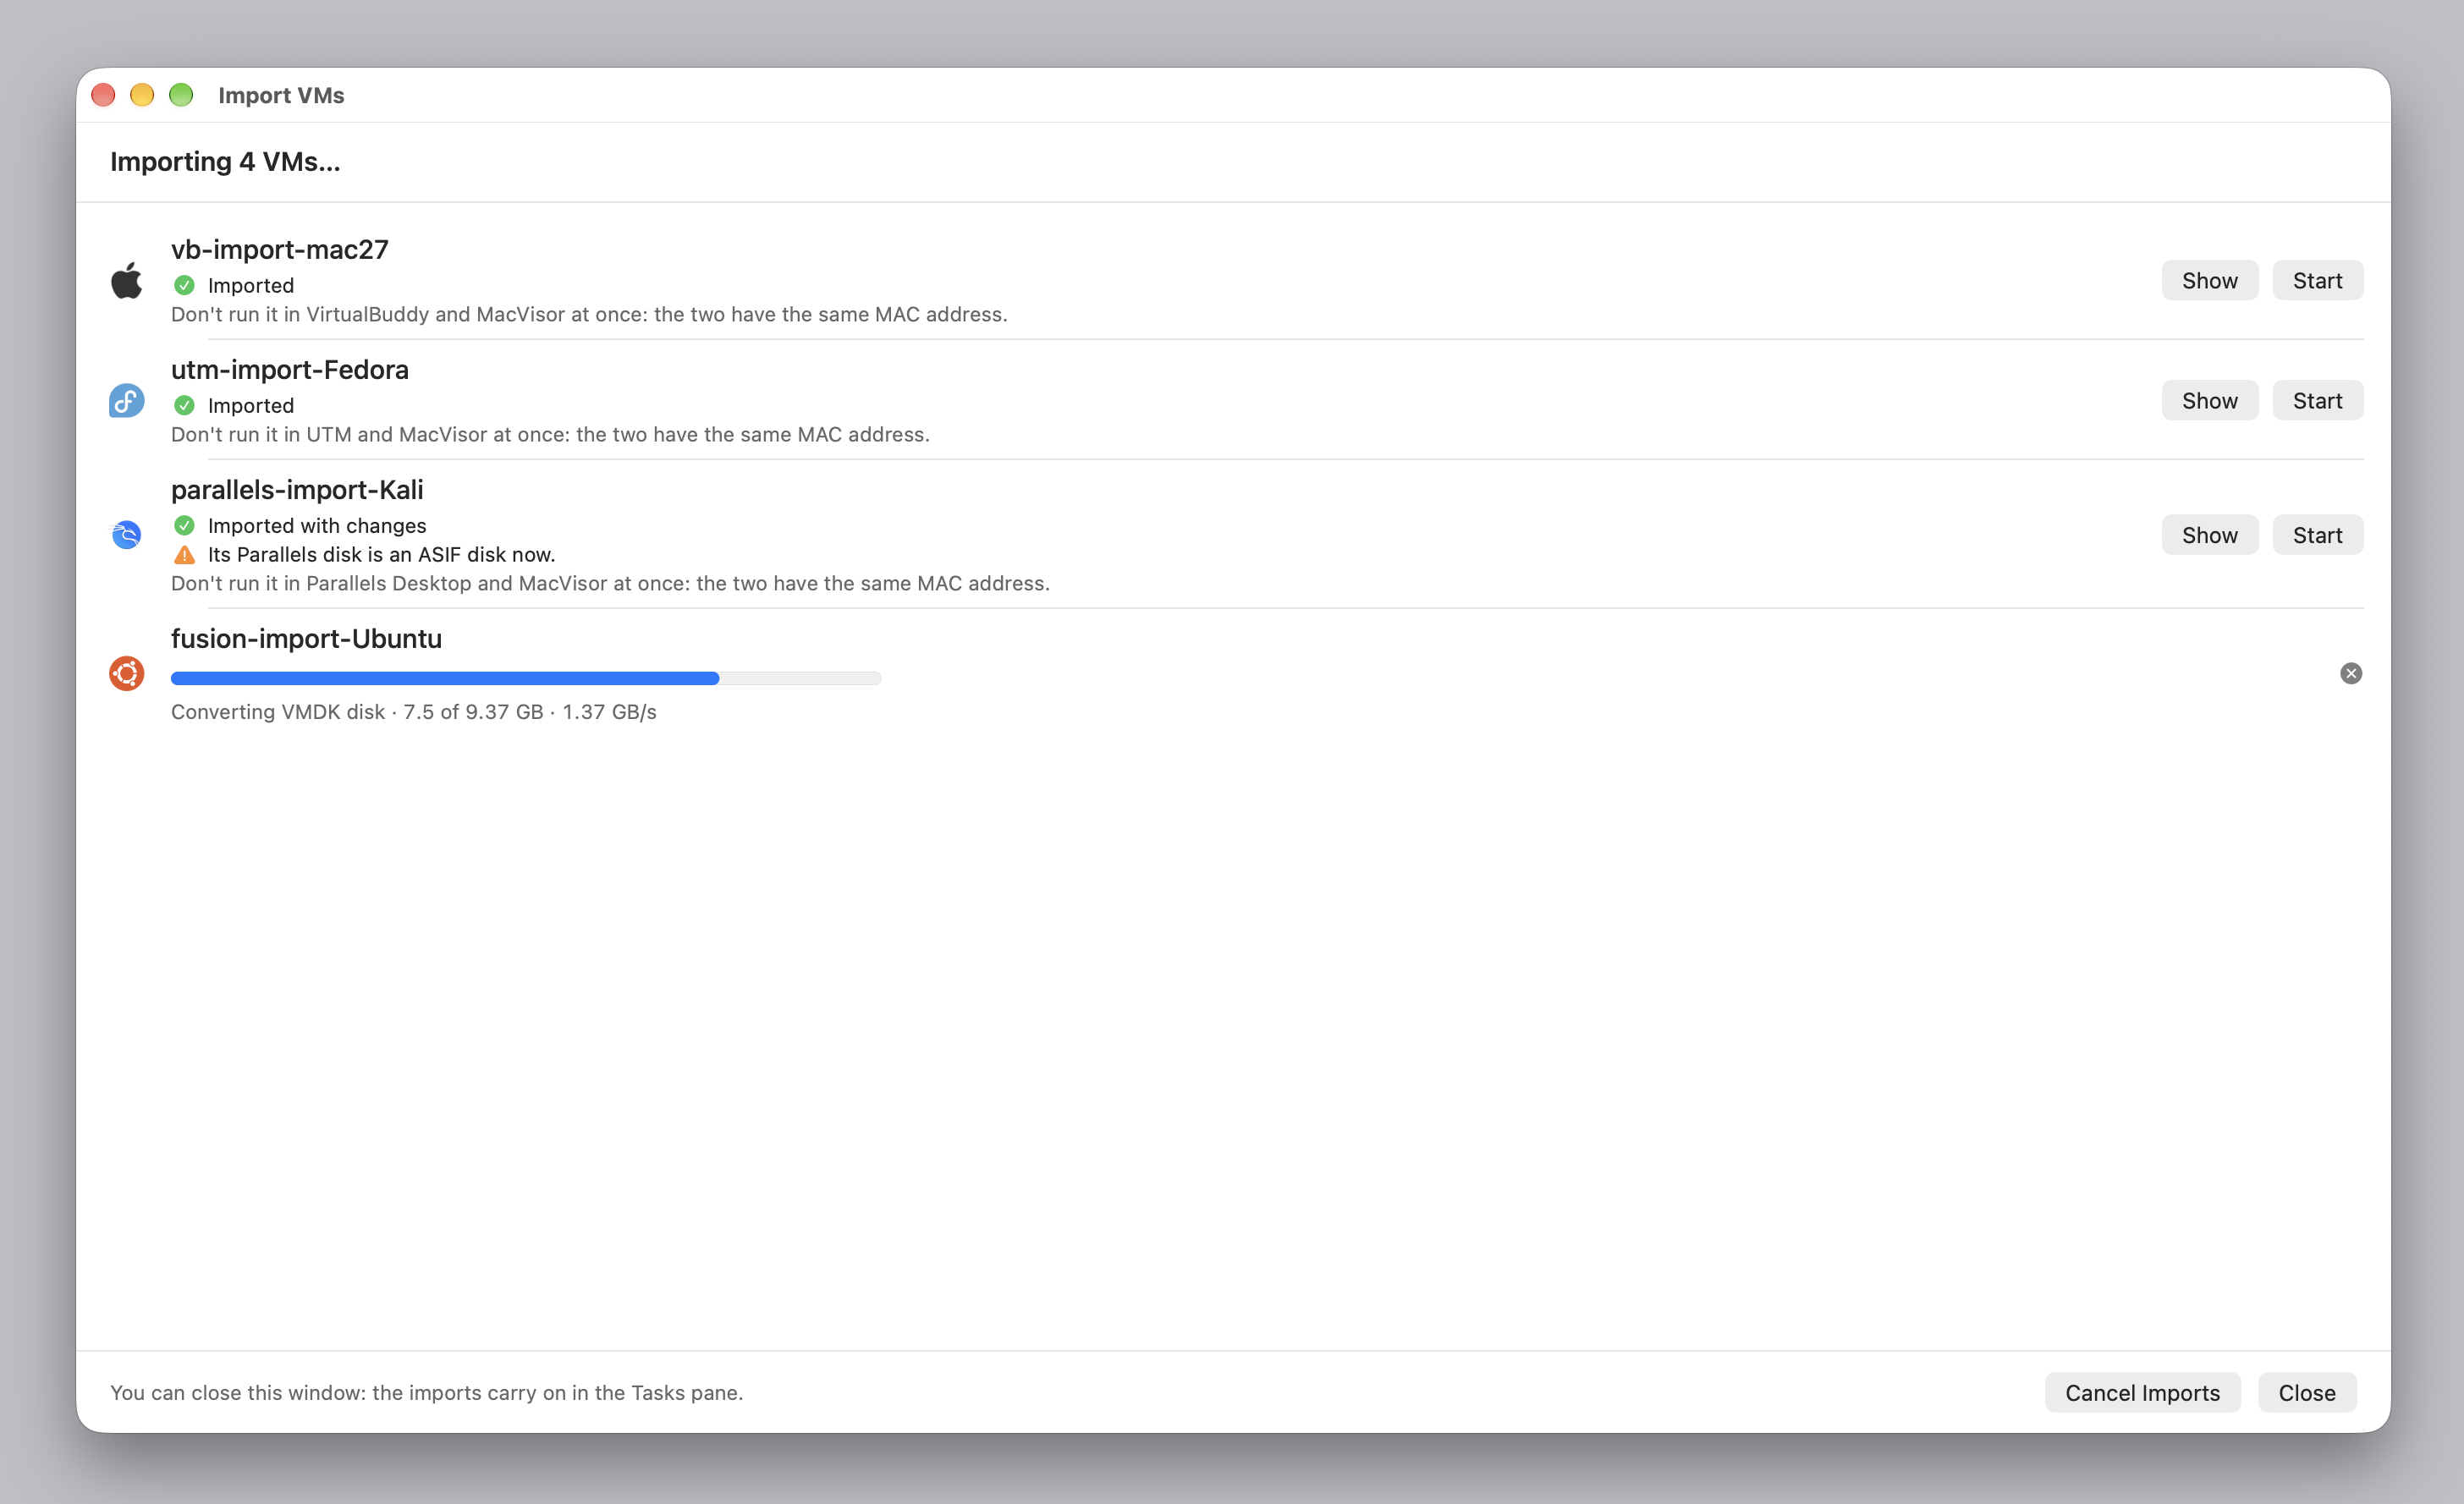
After a Copy, don't run the VM in both apps. The two have the same MAC address, so both would use the same network address.
From the command line
mvz import does the same. List what it finds:
mvz import --scanUTM's folder is read only when you name it:
mvz import --scan ~/Library/Containers/com.utmapp.UTM/Data/DocumentsSee what would be made, without making anything:
mvz import ~/Parallels/Ubuntu.pvm --name ubuntu --dry-runThen import it:
mvz import ~/Parallels/Ubuntu.pvm --name ubuntuAdd --move to send the original to the Trash.
After the import
-
Start the VM and sign in with the account and password it had before.
-
Install the MacVisor Agent, for shells, clipboard, file transfer and a clean shutdown. In a Linux guest, run the command the Overview's Guest Tools card shows:
sudo mount -o ro -L MACVISOR_AGENT /mnt && sudo sh /mnt/install-linux.sh -
Check the network in a Linux server. Its adapter gets a new name, such as
enp0s1where it wasenp0s5in Parallels Desktop. A desktop finds it by itself; a server whose network settings name the old adapter may get no address. See No network after importing. -
Remove Parallels Tools from the guest when convenient. They stay inside with nothing to talk to. spice-vdagent, which Linux desktops from UTM often run, can stay.
-
Take a snapshot once it runs as it should:
mvz snapshots take ubuntu --name "Imported" -
Delete the original in its app once you're happy, after a Copy.
Making the Windows VM new
A Windows disk from another app doesn't boot in MacVisor, because MacVisor installs Windows with drivers for its own virtual hardware. Make a new one instead. The install is unattended and takes about 10 minutes, plus a few minutes to download drivers for the first Windows VM.
-
Download Microsoft's Windows 11 on ARM ISO.
-
Create the VM, with ⌘N and Windows in the app, or:
mvz create ~/Downloads/Win11_26H2_English_Arm64.iso win11 --ssh -
Share a folder for your files, then shut the VM down and start it again. The share shows in Windows as the
Z:drive:mvz shares win11 add ~/Transfer -
Copy your files from the old VM into that folder, and from
Z:into the new one. -
Activate Windows with your license, in Settings → System → Activation.
The new VM has UEFI Secure Boot and a TPM 2.0, so Windows 11's checks pass.
BitLocker doesn't come across with the old VM, and Windows doesn't encrypt the new VM's disk by itself. If you need encryption, turn BitLocker on in the new VM. It seals its key to the VM's TPM and unlocks at each start. Keep the recovery key somewhere you can reach without the VM, such as your Microsoft account, Entra ID or Active Directory. BitLocker asks for it after a clone, a TPM reset or a move to another Mac without the TPM. See BitLocker and Escrow the recovery key. The full Windows guide is Windows 11 on Apple Silicon.
Try it free
MacVisor is free for 30 days, with no sign-up, then a one-time Pro license, with every single-Mac feature in every license. Import your VMs during the trial and keep the originals until you're sure.